Submitting Your First Mac App Store App:
I would say I have the process of submitting iOS apps down, I could probably do it blindfolded. Actually I HAVE done it blindfolded on several occasions guiding people over the phone on their very first submission.
But today I am doing it for the first time on an app for the Mac App Store (aka MAS). Let’s see if I can see this through to a successful conclusion, or at least until the ball is out of my court and with the app review team.
A couple of months ago we made a deal with
BytePoets, a small software company based in Graz, Austria. At that time I had an idea for a Mac tool that would greatly simplify how you localize apps. But at the same time I was afraid of starting to code on OSX. I did not have the time to devote to this project to get up to speed myself, so I let them do the development. Publication and marketing of the app now falls to me.
Certificates and Profiles
So as the first step – I figured – I probably need a distribution certificate for the app. So I logged into the Mac Developer Center and went looking for the Mac equivalent of the provisioning portal. I found the “Developer Certificate Utility”, which sounded like what I needed.

First thing to do there was to
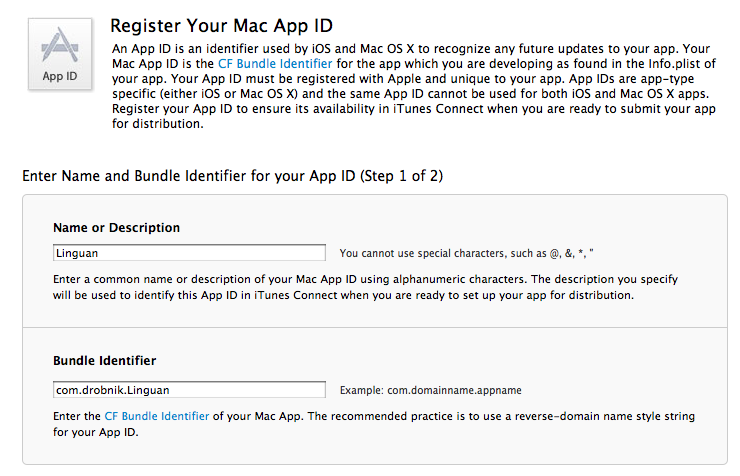
register an app ID. You choose an app bundle identifier similar as you would do on iOS, in reverse domain notation with the final part being the name of your app. Also you give the identifier a name or description so that you find it later.

The second step is to confirm your input as you can only delete such identifiers from your account, but you will never be able to edit them.
On the screen that follows you can configure iCloud and Apple Push Notification support for the app, but we didn’t need those at this time.
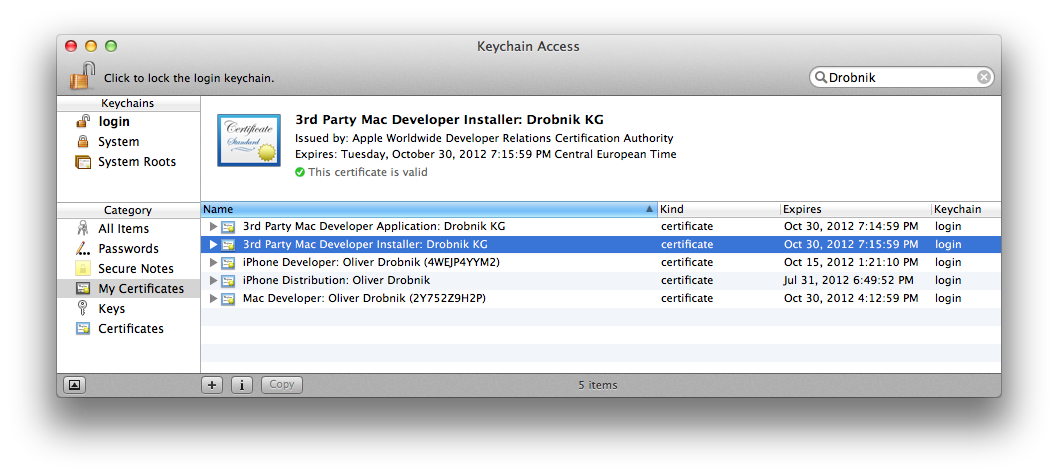
On the Certificates tab I was confused to see a Mac App and a Mac Installer certificate already there. I didn’t recall creating these. So I ignored them for the time being and clicked the big blue button to request a new certificate.
Then I felt at home again, you get a choice to create a developer or a distribution authority and just like on iOS you have to use the certificate assistant in your Keychain Access to get these. The assistant creates the private key in your keychain and you save the public key to a file. This you upload to Apple and they sign it. Then at the end of the process you download their result and it joins the private key in your keychain when you open it from your downloads folder. You have to create two distinct signing requests for a development and a distribution identity.
The product of this is that you end up with 5 certificates on your keychain, the “iPhone Developer/Distribution” you have seen before, as well as two new ones titled “3rd Party Mac Application” and “Mac Developer”. Looks ok, if all 5 certificates have the private key dangling under it.
On my first run through here I forgot about the second distribution profile for the MAS, you need to have both a Installer and Application certificate for that, where with iOS this is only one certificate. If you don’t get the Installer certificate then you will find that you cannot validate or submit apps, instead you get stuck with “Don’t sign package (No valid signing identities found)”.

The third tap is titled Systems and looks to be the same as where you enter your iOS device IDs. For practice I went ahead and registered my MacBook Air. I didn’t know that even Macs had hardware device identifiers! You can find the one for your machine on the “About this Mac” and then look for “Hardware UUID”.
Just like with iOS you are apparently limited to registering 100 such systems per year. Obviously this has to be only for testing purposes, like iCloud and Push Notifications, right?
The fourth and last step is to titled Provisioning Profiles, again a concept we met in the iOS world. Again a big blue button leads to a selection between either Development or Production, where I believe the latter to mean the same as Distribution.
For a Development profile you specify a name or description, choose the previously generated bundle identifier, select the systems that are allowed to run this and the developer certificate. For the Production profile I was presented with two Mac Application Distribution Signing Certificates, so I chose the one with a later expiration date. That must have been one of the two that I saw earlier, but couldn’t remember creating. Naturally production apps don’t have any restriction regarding systems, so this is grayed out.
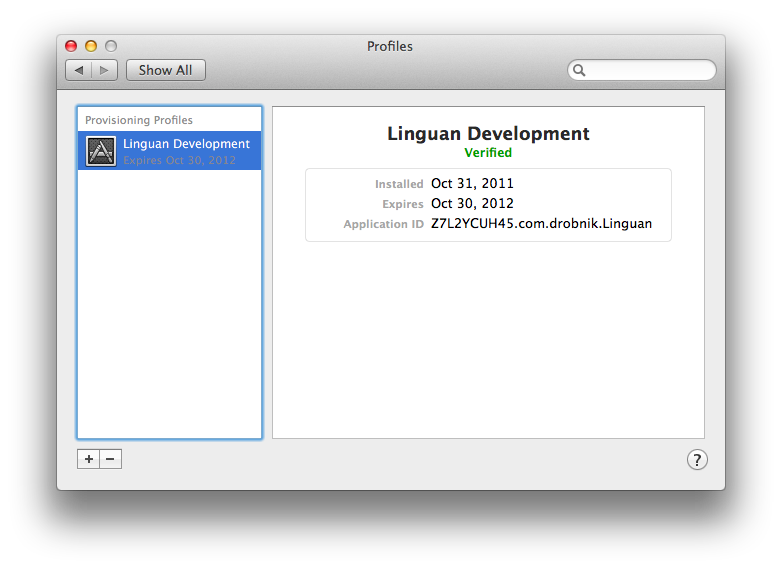
Once the button on the following page turns from Processing to Download you get to see a new pref pane that you never noticed before. Just like on iOS there is also a profiles section in your system settings.

One thing that stumped me at first was that I got an error message when I tried the same exercise with the production provisioning profile which happens automatically after download. I suppose that you cannot install a production provisioning profile in your profiles pref pane because it does not have your device identifier. Also on iOS you wouldn’t ever install the app store distribution profile on a device.
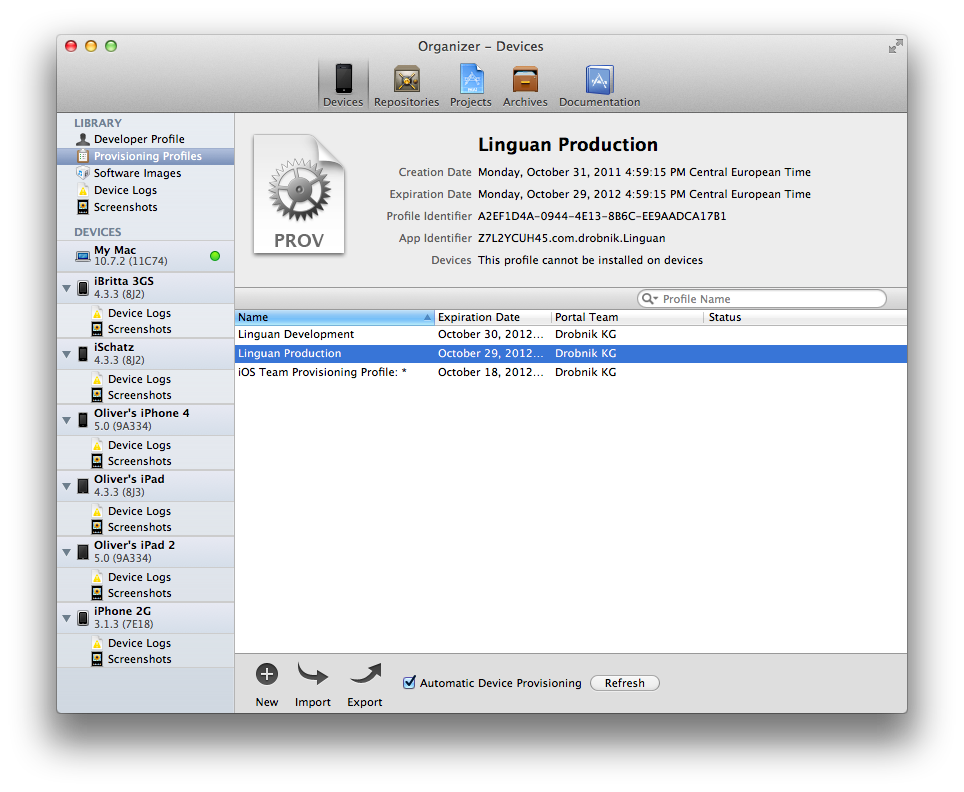
Adding these new provisioning profiles to the Xcode organizer, under devices, worked fine. You can see my automatically managed team provisioning profile for iOS and the two new Mac provisioning profiles. And actually this confirms what I suspected for the production profile: “This profile cannot be installed on devices”. Aha. Thanks Apple for letting me think for a few minutes that I did something wrong …

That seems to be all in terms of general setup, next I did a fresh checkout of the app’s trunk from my Subversion repository … and made a fresh cup of tea to calm my nerves, I’ve started getting sweaty palms from all the excitement.
Creating a New App on iTunes Connect
Before getting into the intricacies of building the app I had to do the work required for apps on iTunes Connect to get a new app id number which is needed for the “Rate this app” button. This number is assigned by Apple when you create the app on the iTunes Connect portal.
So I logged into the well known
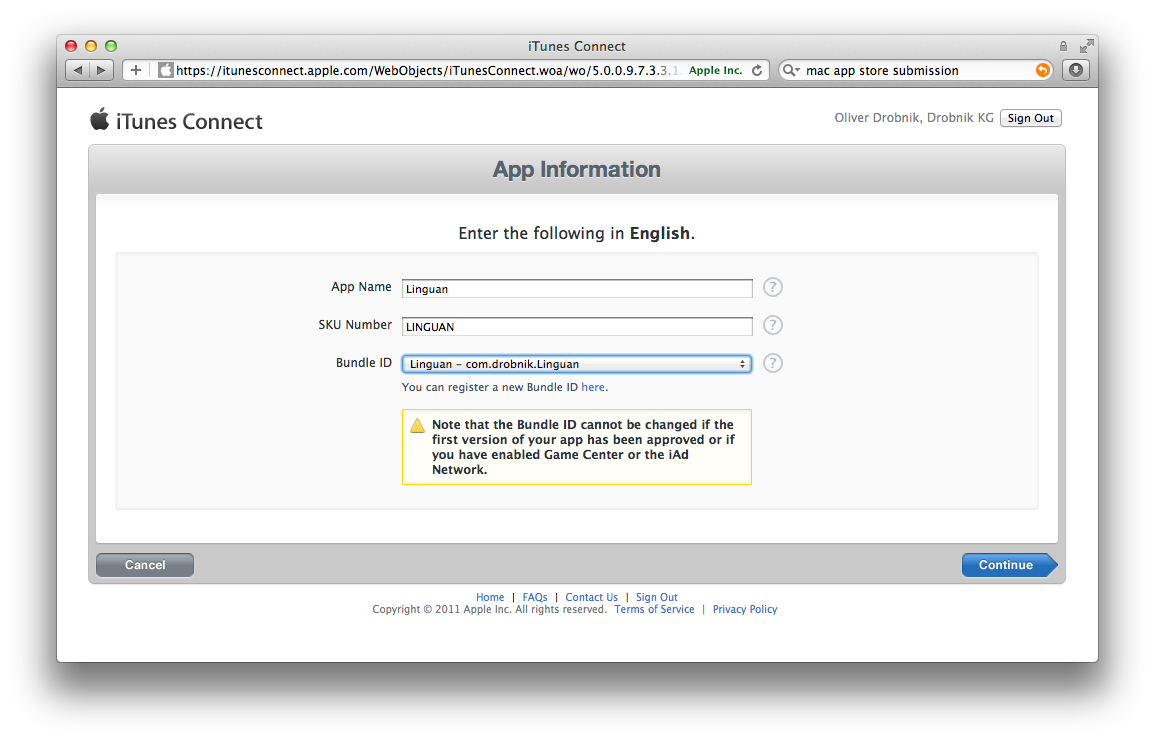
http://itunesconnect.apple.com, clicked the “Add new app” and chose Mac OS X App.
You choose a name for the app, an SKU code (I usually take the app name in upper case characters) and choose the correct bundle identifier which we created earlier. You are again reminded that
“the Bundle ID cannot be changed if the first version of your app has been approved or if you have enabled Game Center or the iAd Network.”

Next you select the availability date and a pricing tier as you are used to.
On the third screen you have the usual elements to fill out, a description, rating, URLs. Been there, done that.
The first problem I ran into was to provide an acceptable screen shot. Earlier I had simply opened the app and made a screen shot of the app window. Turns out it must be a JPEG, TIF or PNG file that is 1280×800 or 1440×900 pixels, at least 72 DPI and in the RGB color space. A bit of a problem for me on a MacBook Air, since the maximum resolution there is 1366×768.
The trick I used was to switch the display to 1152×720 (stretched), put the app in full screen mode and make a screenshot with Shift+Cmd+3 to not get a shadow. This was easily upscaled to 1280×800 by means of the Preview app. This PNG was accepted without problems.
After a nerve-wrecking long wait on hitting the Submit button, the creation of the app worked and I got my app identifier. I found it odd that there was no means to upload an app icon, but I figure that the icon contained in the app bundle is probably of sufficient resolution for Apple to take it from there.
Building the Code
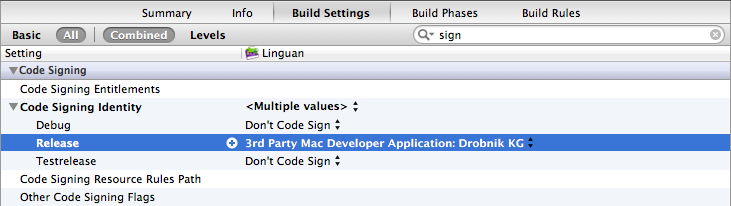
So back to Xcode where I had the app already running in debug so that I could make the screenshot. So first check was for which mode the Archive scheme was set: release. Next I went into the target settings and adjusted code signing to match my production provisioning profile, the “3rd Party Mac Developer Application” option.

Building the code for the first time like this triggered lots of warnings that seem to come from using attributes in xib files that are not supported prior to 10.7. I also found a warning about
receipt validation (by Nick Paulsen) not being enabled, I had heard about this mechanism that allows Mac apps to validate their honest origin as the MAS.
So I enabled the define after adjusting the bundle identifier (com.drobnik.Linguan) and bundle version (1.0), to see several linker errors. I had to add the IOKit, Security and libcrypto dynamic libraries to fix these.
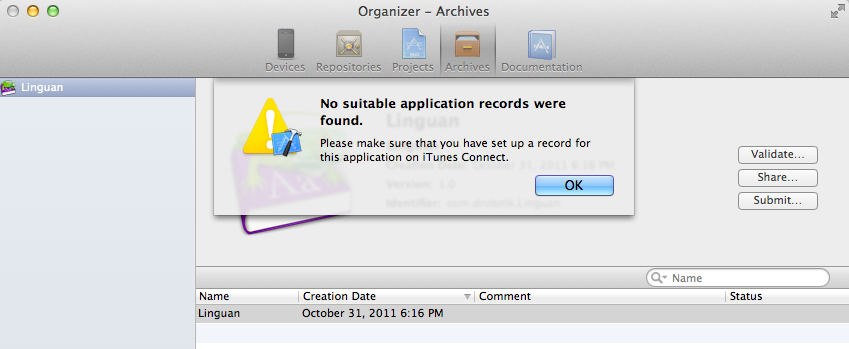
After that the Archive build went right through and appeared in the Xcode organizer. I tried the Validate button there, but got another annoyingly unhelpful error message.

Well, the app version was still in status “Prepare to update” and I had to go in and push the “Ready to Upload Binary” button. Et voila! No error message any more on hitting Validate, but instead the selection for app and profile.
Next problem: No valid identity found, even though I was certain that I had set up code signing. I mentioned this earlier, I had forgotten to get the Installer certificate set up as well. This last step only works if you have TWO certificates set up for the app store process: Installer and App.
After getting the second certificate set up too, I still could not see it working, but after a restart Xcode picked up the installer certificate and let me upload the app. Hooray!

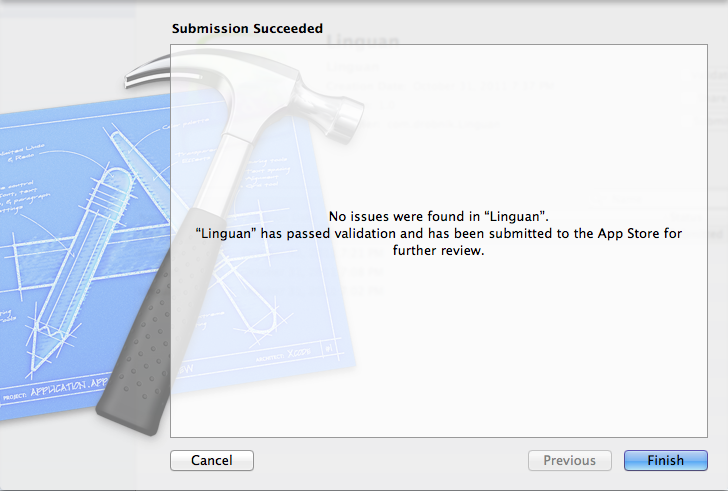
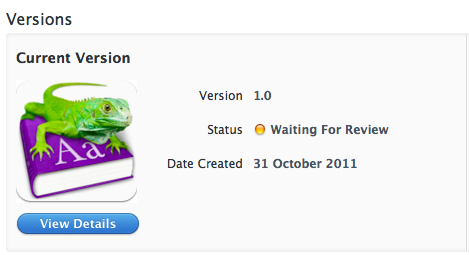
“… submitted to the App Store for further review” is again another part that we have met before, also called “the waiting game”.
Conclusion
Submitting apps to the Mac App Store works just like iOS apps with only very minimal differences.
- You have 2 certificates for app store distribution: Installer and App
- You can also have a certificate for development, though the real need for that escapes me
- You have to register your development devices and use a development provisioning profile, probably to test things like iCloud
- Setup for code signing is the same, though you use a different certificate to sign the app and to sign the installer package that the uploader generates for you.
- Screenshot format is different

- You don’t submit Icon PNGs, those get pulled by iTunes from the app itself
- The rest of the submission dialogs is identical
I did not go into Entitlements so far, as October 31st was said to be the last day before Apple said that they are going to be enforcing App Sandboxing. That in itself is a whole different world of pain, because of the way this app works with Xcode projects.


 Step Five: Connect A New Scene To The Button


 When your ipa file is done uploading, this is what you will see, and it’s where most of the power of TestFlight lies. Particularly, pay attention to the left pane: History shows you the upload history of each build of the app, along with feedback sent by testers (from within the app), crash reports, test session info (such as what your testers have tested and how long), etc.